Skip to main contentBfloat AI provides seamless integration with Apple App Store, a platform for building and publishing iOS mobile applications.
Prerequisites
- A Bfloat AI account
- An Apple App Store Connect account
- An Expo account integration on Bfloat AI. To connect your Expo Account, follow the Expo Integration guide.
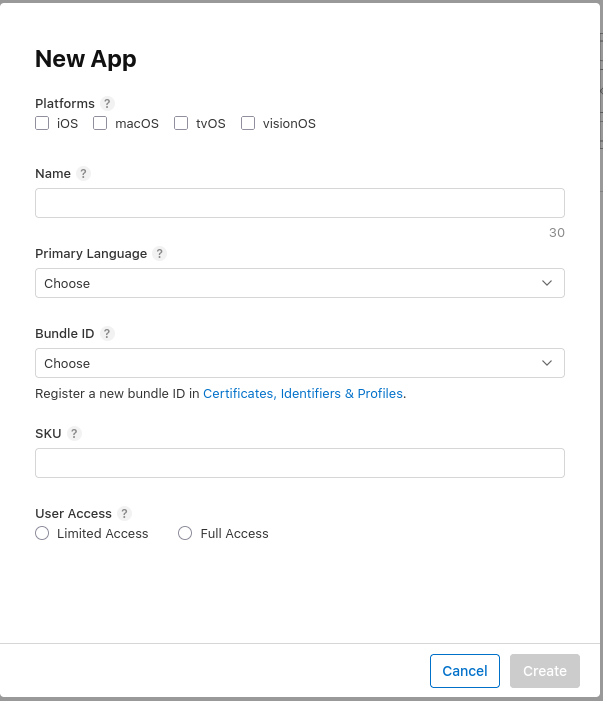
1. Create Your App in App Store Connect
- Log in to App Store Connect
- Navigate to My Apps
- Click the + button and select New App
- Fill in the required details including your app name, primary language, and the Bundle ID you created
2. Connect Your App to Bfloat AI
After creating your app in App Store Connect, you need to link it to your Bfloat AI project:
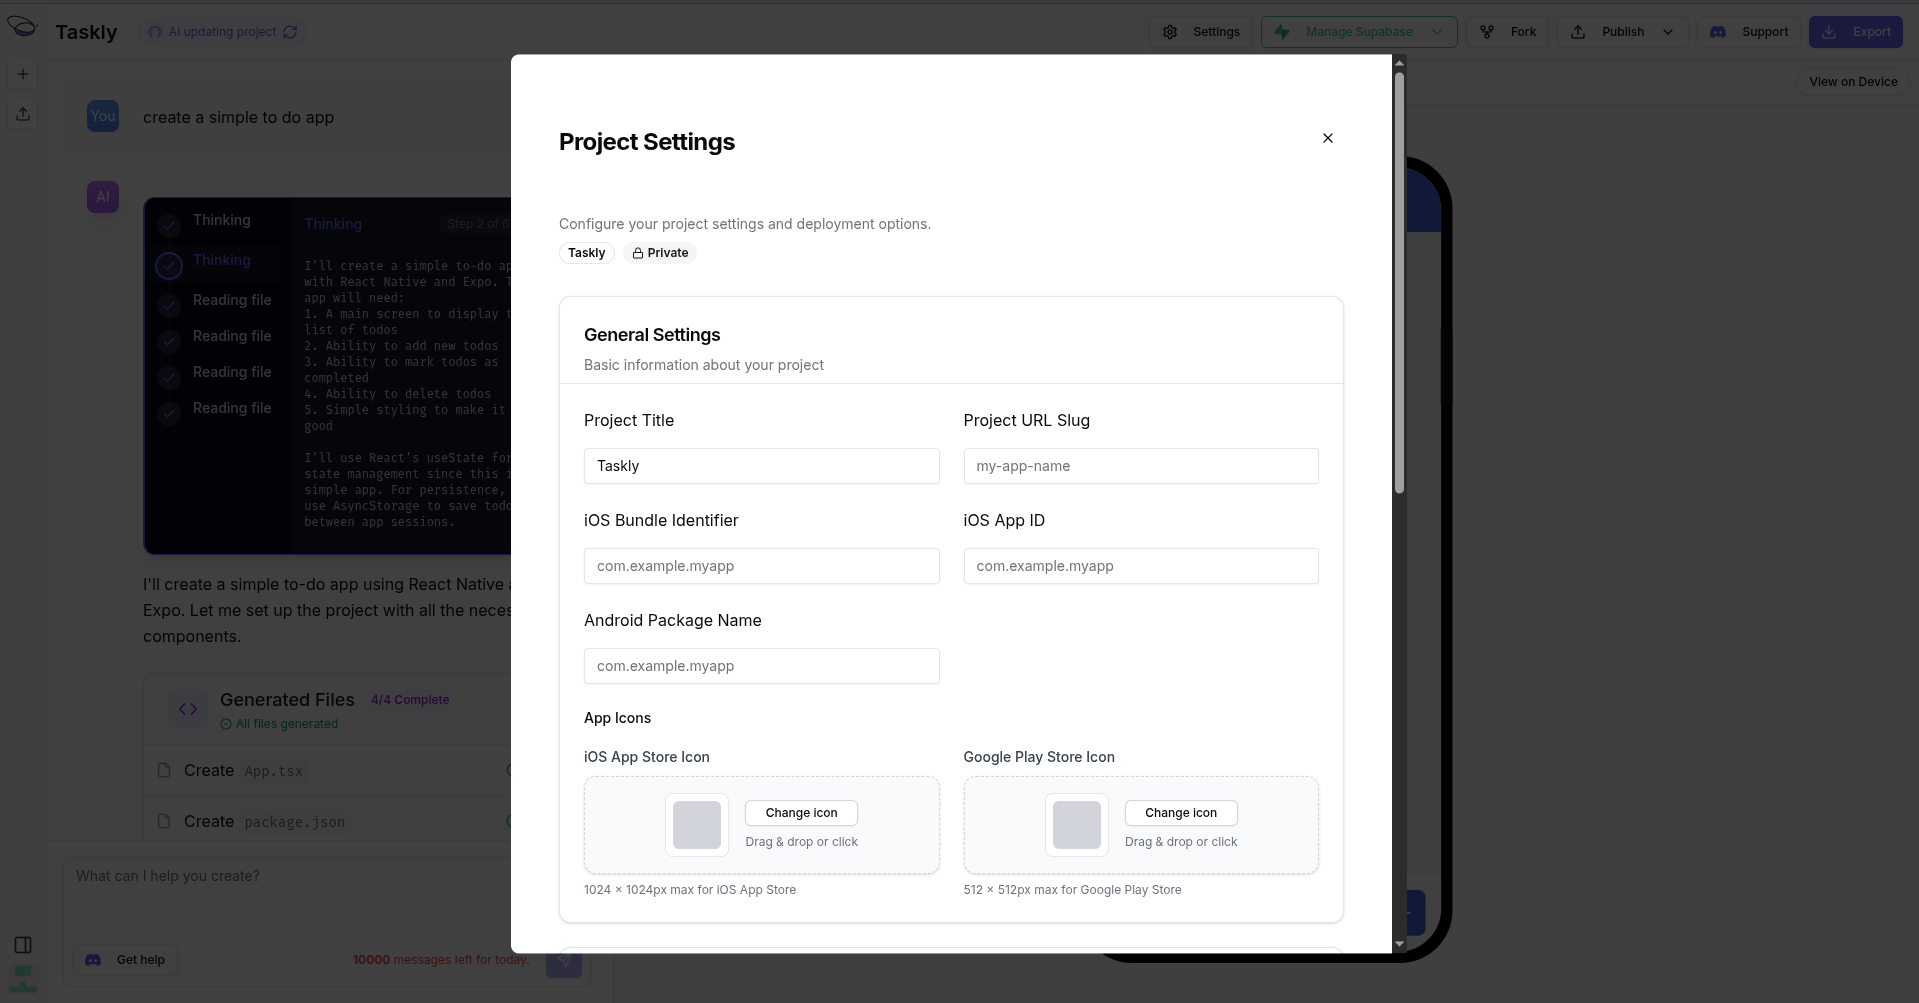
- In the Bfloat AI dashboard project page, open your Project Settings by clicking on the Settings button in the top right corner.

- Scroll down to General Settings
- Enter your Bundle Identifier (must exactly match what you created in Apple Developer Portal)
- Enter your App ID (the unique identifier from App Store Connect)

 With the Settings modal open, you can:
- Change the Project Title (optional).
- Configure your project’s iOS Bundle Identifier.
- Configure your project’s iOS App ID.
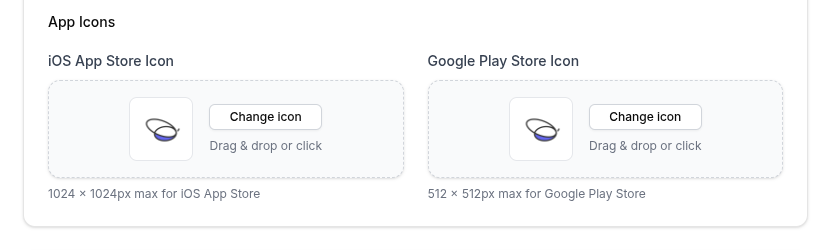
- Upload the project’s icons
- Click Save Changes
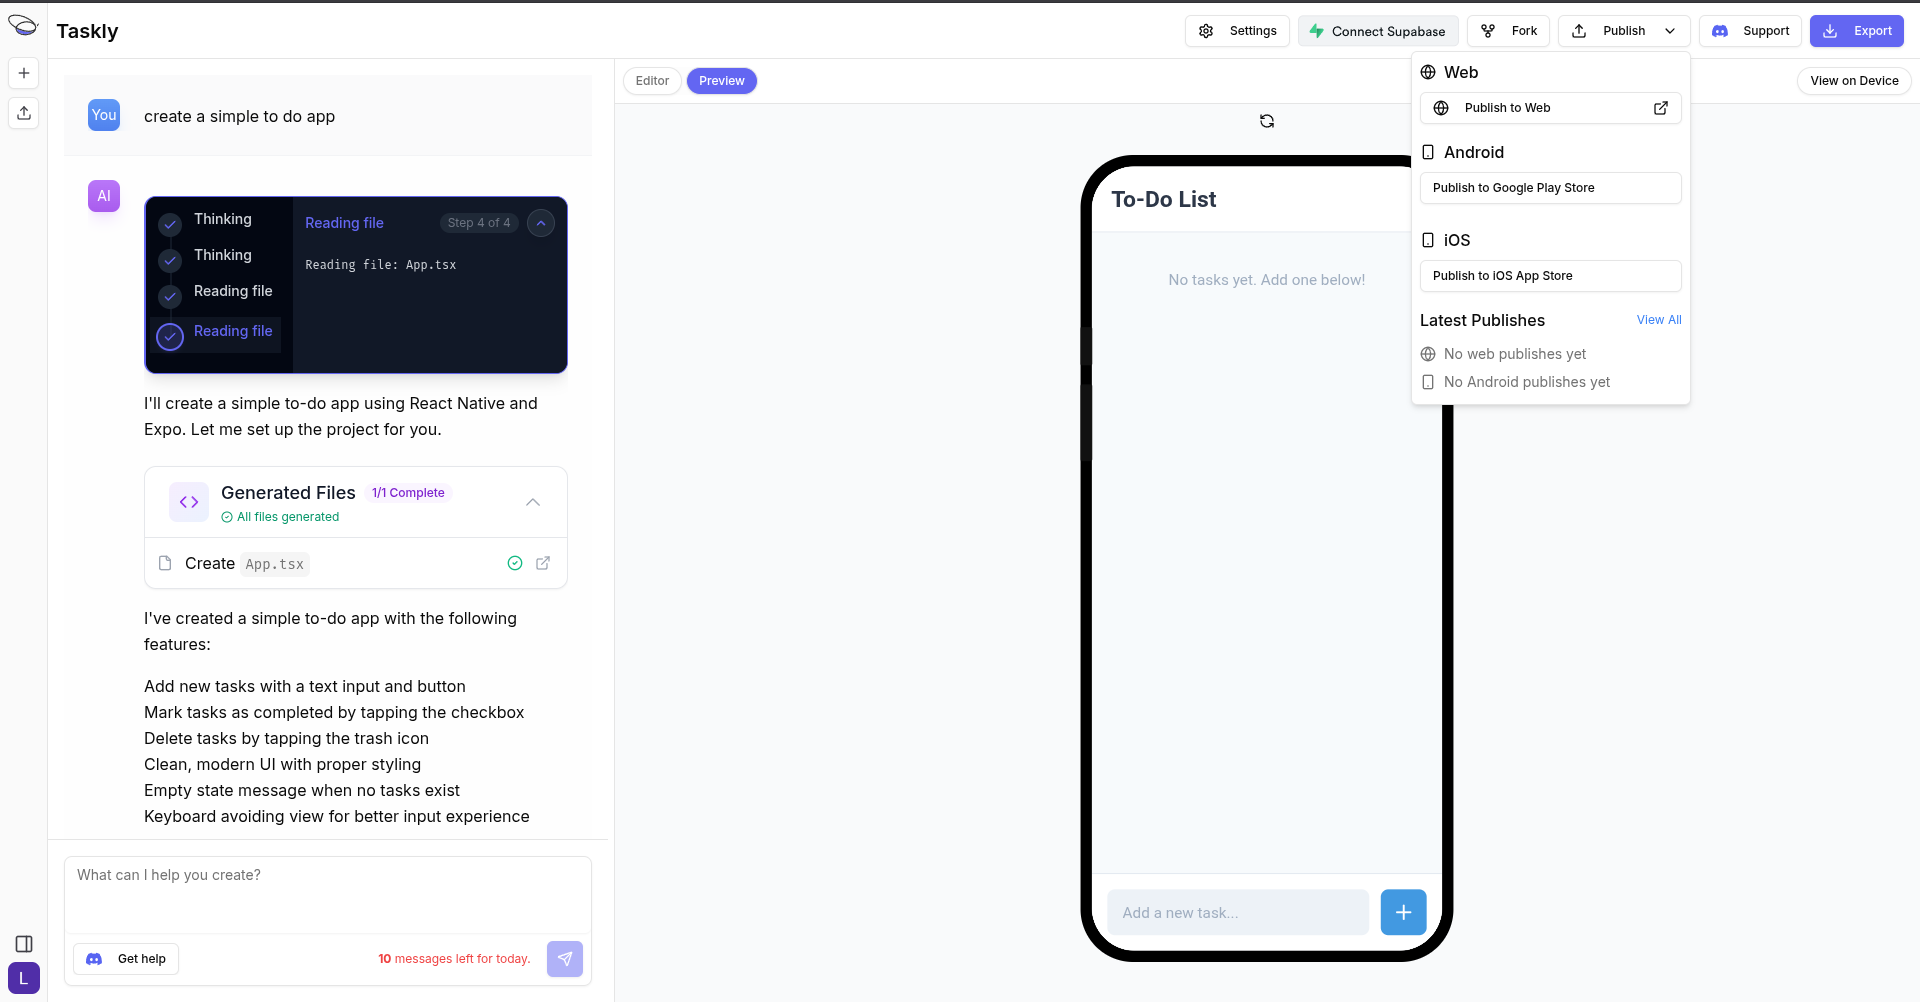
3. Publish Your App to the Apple App Store
After setting up the project settings, you can publish your app to the Apple App Store.
- Go back to your project page and click on the Publish button.
- Select Publish to iOS from the publish options.
- For the build status, you can check via the Expo project’s Builds page.
- Once publishing is complete, on Bfloat AI you can see all the publishes by clicking the Publish button and then clicking the View All text.